Here is the simple approach to log to console, file and database at the same time;
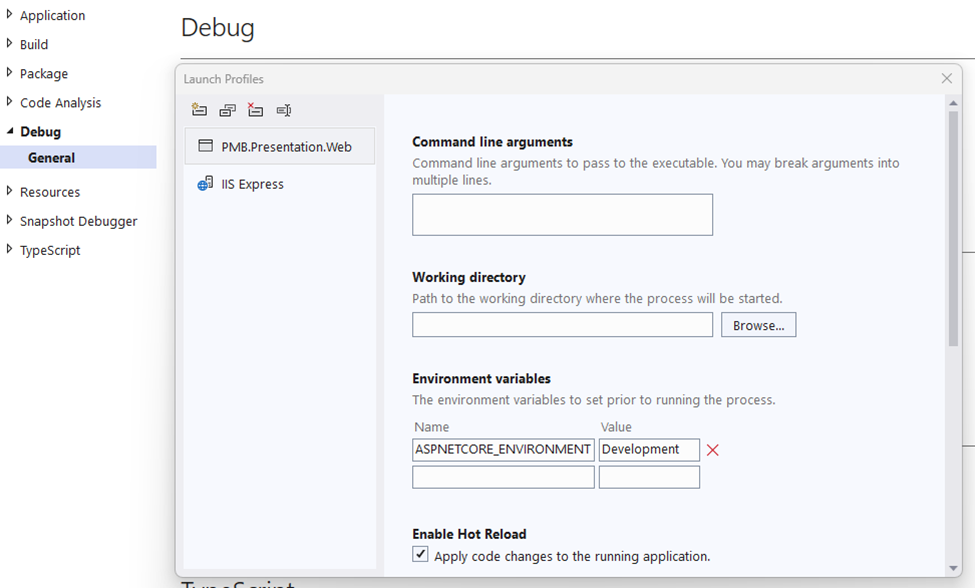
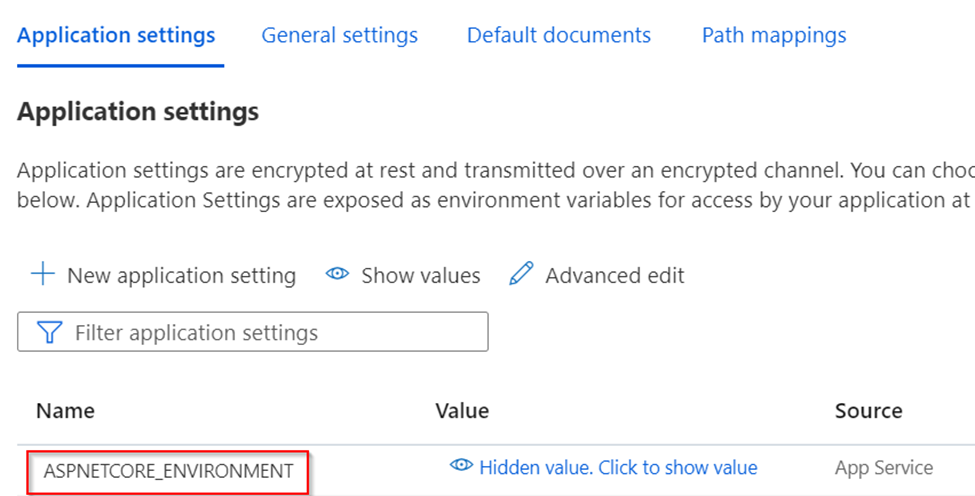
Step 1 — Add Environment Variable
The environment variable, ASPNETCORE_ENVIRONMENT, will be used to determine whether the application is running in Development mode or Production mode. Setting it as “Development” here allows us to put configuration values in appsettings.Development.json, which will get created soon.
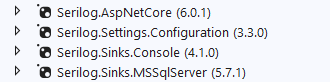
Step 2 — Install Serilog NuGet packages
Assuming we want to write the logs to both the Console and also rolling text files, we can use the following Serilog packages:
Step 3— Create appsettings.Development.json
This is a JSON file where we store configuration values that will be used when the application runs in development mode, which is specified in Step 1. As you can see in the code snippet below, logging will be written into Console, Database and a rolling file with a rolling interval of day, which means each day, a new text file will be created for logging. The name of the text will become log-log-20210123.txt, while the date is appended by Serilog.
  "Serilog": {
    "Using": [
      "Serilog.Sinks.Console",
      "Serilog.Sinks.File",
      "Serilog.Sinks.MSSqlServer"
    ],
    "MinimumLevel": {
      "Default": "Debug",
      "Override": {
        "Microsoft": "Warning",
        "System": "Error"
      }
    },
    "WriteTo": [
      {
        "Name": "File",
        "Args": {

          "path": "C:\\Home\\LogFiles\\AppName\\log.txt",
          "outputTemplate": "{Timestamp:yyyy-MM-dd HH:mm:ss.fff zzz} [{Level}] {Message}{NewLine}{Exception}",
          "rollingInterval": "Day"
        }
      },
      {
        "Name": "Console",
        "Args": {
          "theme": "Serilog.Sinks.SystemConsole.Themes.AnsiConsoleTheme::Code, Serilog.Sinks.Console",
          "outputTemplate": "[{Timestamp:yyyy-MM-dd HH:mm:ss.fff}] [{Level}] {MachineName} ({ThreadId}) <{SourceContext}> {Message}{NewLine}{Exception}"
        }
      },
      {
        "Name": "MSSqlServer",
        "Args": {
          "connectionString": "Data Source=url;Initial Catalog=FOO;Persist Security Info=True;User ID=Adam;Password=xyz",
          "sinkOptionsSection": {
            "tableName": "MyLog",
            "schemaName": "dbo",
            "autoCreateSqlTable": true,
            "batchPostingLimit": 1000,
            "period": "0.00:00:30"
          },
          "columnOptionsSection": {
            "disableTriggers": true,
            "PrimaryKeyColumnName": "Id",
            "addStandardColumns": [ "LogEvent" ],
            "removeStandardColumns": [ "MessageTemplate", "Properties" ],
            "timeStamp": {
              "columnName": "Timestamp",
              "convertToUtc": false
            }
          }
        }
      }
    ]
  }
You can clear the appsettings.json content if all configuration values are stored in environment-specific json file, and just leave an empty curly brackets, {}.
Step 4 — Configure Serilog in Program.cs
Here is how;
builder.Host.UseSerilog((context, provider, config) => {
    config.ReadFrom.Configuration(context.Configuration);
    });

app.UseSerilogRequestLogging();
Resources
A reference from Code Maze web site
Here is a good reference