Azure File Storage is an easy and active service. We can access it programmatically and through UI. This article is focused on Azure DevOps Release pipeline and Release deployment to Azure File Storage. We can use Azure Storage Explorer (UI) to move builds around different environment or locations.
I am assuming that you already have crated a project and build pipeline.
Azure DevOps already offers a task to release the code to Azure storage. This task is Azure file copy.
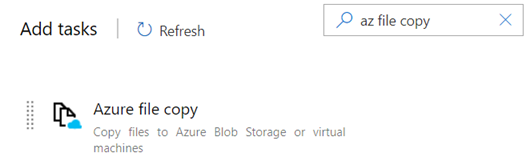
However, this task does not deploy to Azure Files storage. It does deploy to Azure Blob and Virtual Machines only.
An example of copying data from a local directory to a blob container using SAS token;
azcopy copy "C:\local\path" "https://account.blob.core.windows.net/mycontainer1/?sv=2018-03-28&ss=bjqt&srt=sco&sp=rwddgcup&se=2019-05-01T05:01:17Z&st=2019-04-30T21:01:17Z&spr=https&sig=MGCXiyEzbtttkr3ewJIh2AR8KrghSy1DGM9ovN734bQF4%3D" --recursive=trueThe difference between Azure Blob is [https] storage and Azure File [smb] storage. We don’t have any default task to release the code to Azure File Share.
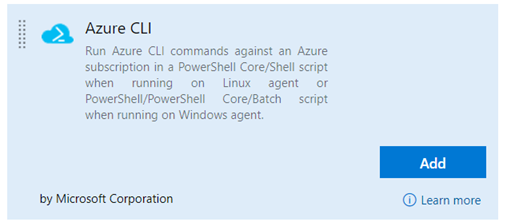
What should we do then? Azure CLI can be used to copy files to Azure File storage. Here is the task that can be used;
To keep things simpler, I am not using YAML. I will be using simple UI.
Build a Release Pipeline
Click on “Release -> New Pipeline -> Empty” as show below;
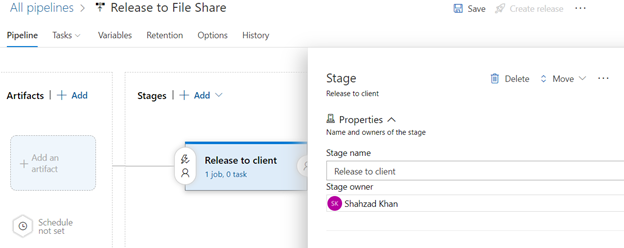
Rename pipeline to a meaningful name “Release to File share”.
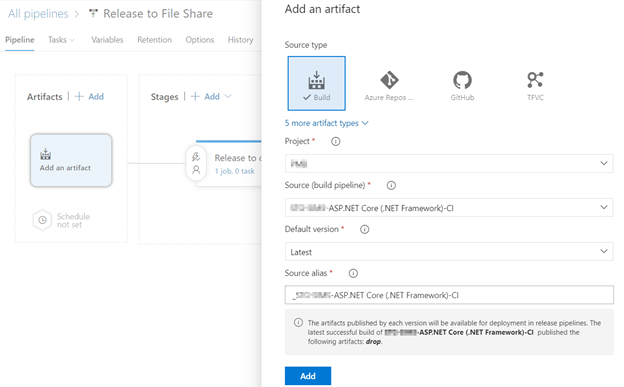
Map incoming build output as input to release pipeline. Click on “Add an Artifact” option in Artifacts box and select the source type as Build. It will list the latest build automatically. Select this option as show below;
Save your changes. Under the stages in the second box ,you should see text like “1 job, 0 task”.
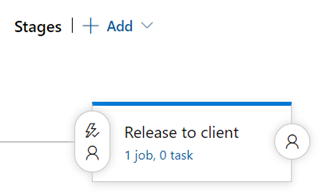
Click on it. Click on “+” sign against Agent job tile. Select Azure CLI from the task and click on Add. Here is how it looks;
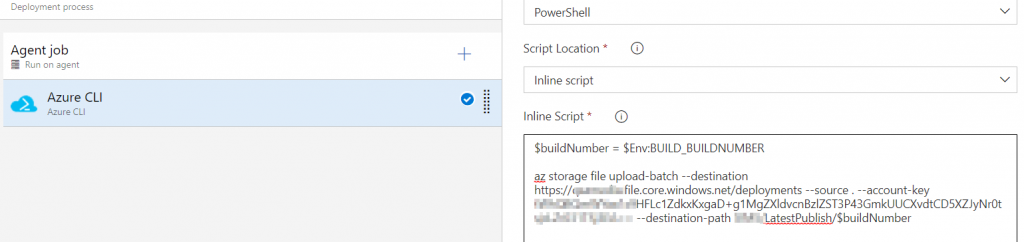
This is the PowerShell inline script;
$buildNumber = $Env:BUILD_BUILDNUMBER

az storage file upload-batch --destination https://[share name].file.core.windows.net/deployments --source . --account-key [share first key] --destination-path LatestPublish/$buildNumber
Create a release. Open Azure Storage Explorer, Navigate to your share and LatestPublish folder. Here is the build output;

The build is deployed with the last build number. Inside build number we can see build alias at drop location that we have defined in build pipeline. If you run the release pipeline again, it will overwrite the contents of file share.
This is the first attempt. We can optimize this process by introducing variables for builds, builds number etc.
Resources
https://docs.microsoft.com/en-us/cli/azure/storage/file?view=azure-cli-latest
https://www.sanganakauthority.com/2019/09/azure-devops-build-and-release-pipeline.html
https://stackoverflow.com/questions/27722205/new-azurestoragecontext-is-not-recognized

 Add to favorites