This is a reference guide to PowerShell and a handy GUI in PowerShell. Refer to these links;
PowerShell is not digitally signed
How to create a PowerShell menu gui
Use a CSV file to make a graphical menu of PowerShell scripts
This is a reference guide to PowerShell and a handy GUI in PowerShell. Refer to these links;
PowerShell is not digitally signed
How to create a PowerShell menu gui
Use a CSV file to make a graphical menu of PowerShell scripts
If we stop a VM inside OS then it goes into “stopped” state. Azure will charge for the compute (hardware), network and storage services.
We can stop maximum charges for VM by using the stopped (deallocated) state. For this we would need Azure Portal (or Azure CLI) to stop the VM. This will shutdown the Operating System and deallocate the compute resource/network resource allocated for the VM. These compute/network resource can be used for another customer. In this case Azure will report the status of the VM as being in a “Stopped (Deallocated” state.
Stopping (deallocating) a VM also release the internal IP address. A quick tip to prevent this from happening is to make sure that you have at least one VM that you haven’t put in the Stopped (Deallocated) state. You’d still be charged for that one but not the others, whilst maintaining your virtual IP.
Azure doesn’t charge for the VM core hours in Stopped (deallocated) state. However, it continues to accrue charges for the Azure storage needed for the VM’s OS disk and any attached data disks.
Azure Free tier is limited to 5 users. If you have connected Azure DevOps to Microsoft Azure then buying is really simple. To buy additional license, follow this;
Click on Organization Settings -> Billing
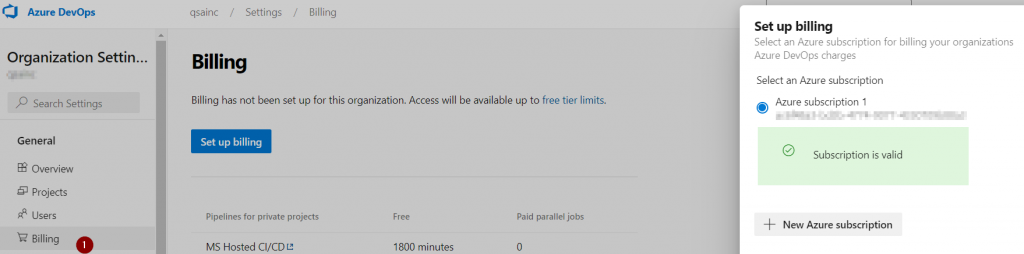
You would see your Azure subscription ID in Billing page;
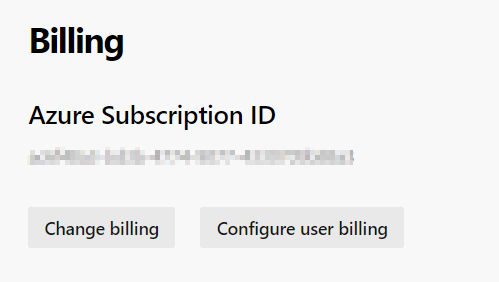
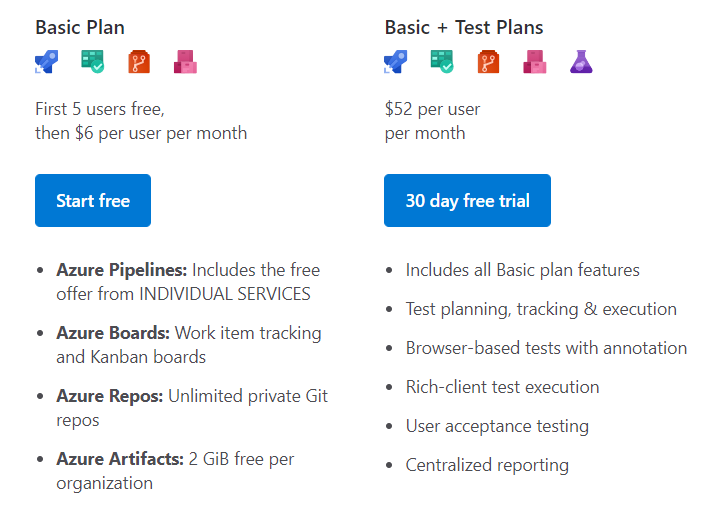
As of this writing additional user will cost your $6/month.
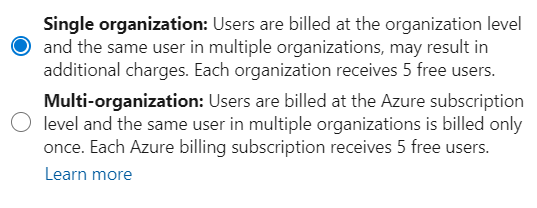
If you have inactive users, stop paying for them by removing them or assigning them a free Stakeholder access level. Sort by Last Access to find users who haven’t accessed the organization recently. Find out how recently they got added by exporting the list of users and checking the Date Created column.

Follow these steps to see only your charges for Azure DevOps.
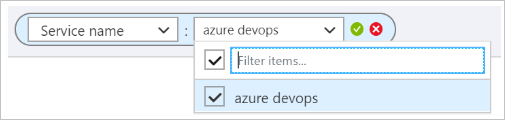
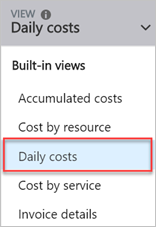
Azure DevOps charges daily, so the best way to see what you’re currently paying for Azure DevOps is to view by daily costs.
Resources
https://azure.microsoft.com/en-us/pricing/details/devops/azure-devops-services/
Here is an example;

If you want to re-register for Azure multi-factor authentication and use Authentication app on a new/existing phone, follow these steps;
Login to Azure Portal -> Active Directory -> Your user account –> Profile

Click on Authentication methods link.

Click on Access Panel Profile link. This will take you to your profile page.
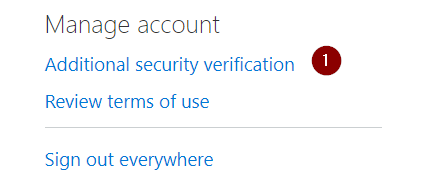
Click on Additional security verification link.
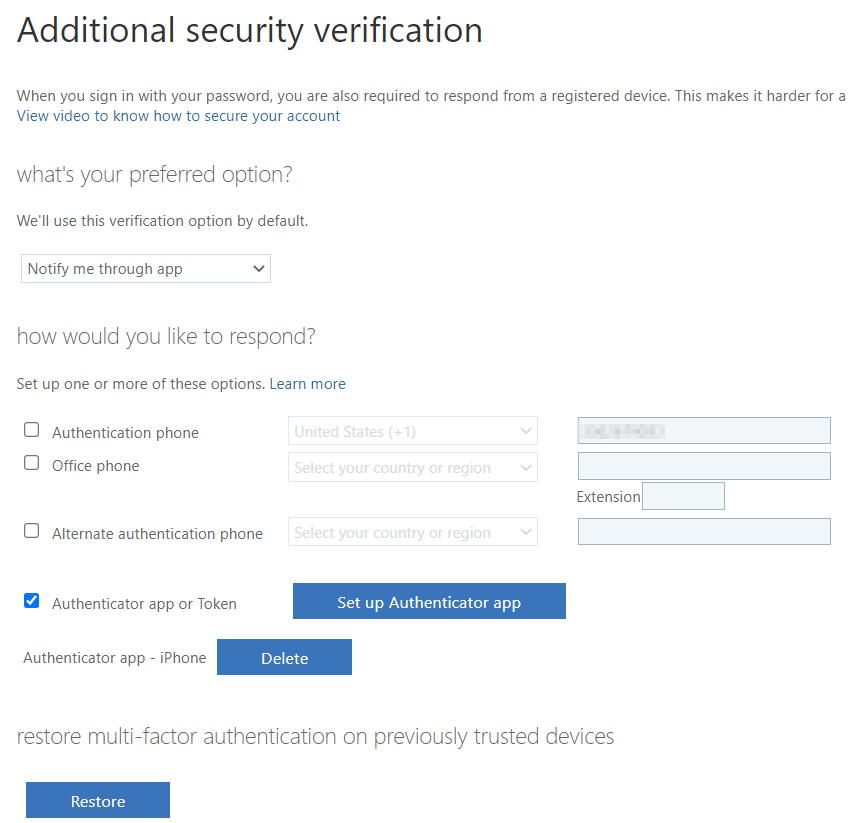
Select this option to view QR coce;

You are ready to restore your credentials.
Resources;