Practical insights from real-world engineering experience
Category: DevOps & Cloud
All about code tracking and management for example, Azure DevOPS branching and merging, Release management, Continuous integration (CI) and Continuous deployment (CD).
Microsoft has partners that might be able to help you in lowering subscription pricing by applying discounts that are not available to general public. In one instance I have been offered Enterprise edition @2,500/year for 5 developers.
Estimated pricing for volume licensing program (5 developers);
This program has one-time payment. This is a perpetual license and if software assurance is involved, you are eligible to get newer version. MSDN subscriptions are usually valid for two years. MSDN renewal is a recurring expense and cost about 20-30% of software cost.
Here is the breakdown;
Professional
The minimum limit here is 5 because there is no MSDN subscription.
Microsoft Visual Studio 2019 Professional – License – 1 User – Microsoft Open License – Single Language – PC
$496.57 x 5 = $2,482.85
Professional with MSDN
Microsoft Visual Studio Professional Edition with MSDN – License & Software Assurance – 1 User – Microsoft Qualified – Microsoft Open Business – All Languages – PC
$1,080.87 x 5 = $5,404.35
Enterprise with MSDN
Microsoft Visual Studio Enterprise With MSDN – License & Software Assurance – 1 User – Volume, Microsoft Qualified – All Languages – PC
$8,638.64 x 5 = 43,193.20
If budget is a constraint and wanted software assurance then I will suggest to go for Professional with MSDN. You can pick whatever suits you.
There are 3rd party vendors offer lower rates but not sure how that will work out. Here is one.
This is required if you want to use git from command prompt. A reboot is required after installation.
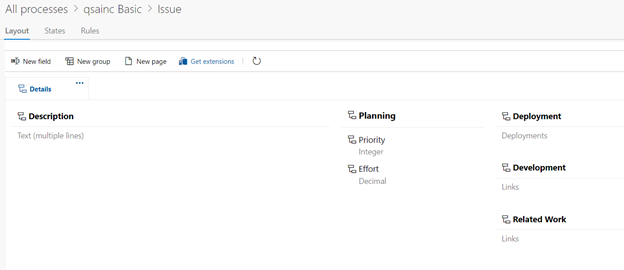
Visual Studio 2019 Settings
This is required to integrate with Azure Devops.
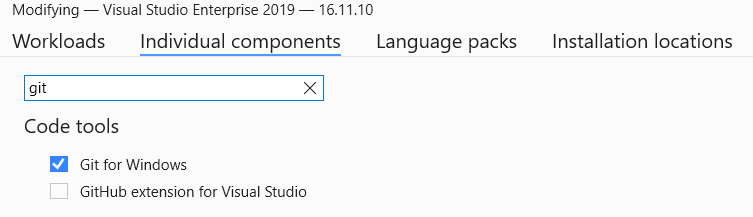
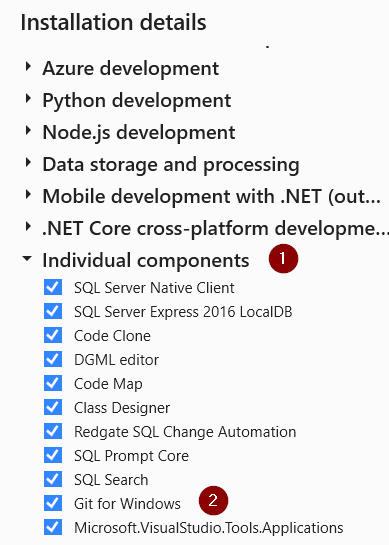
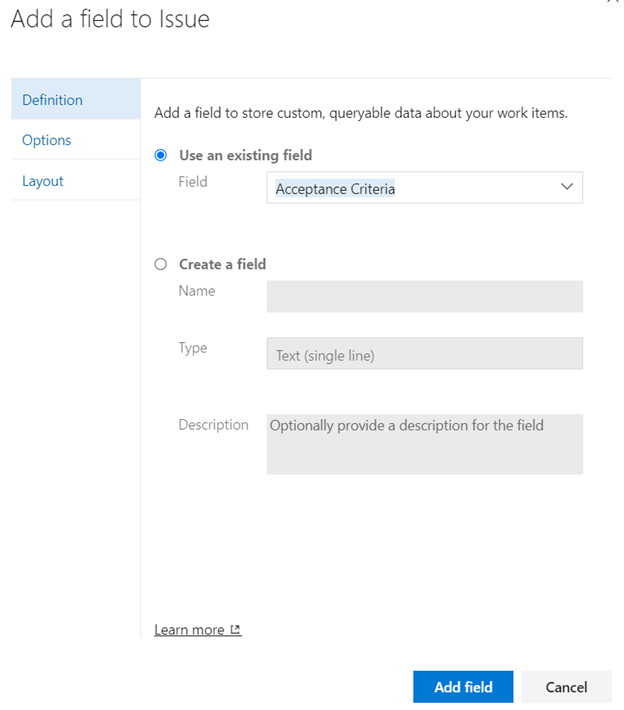
Tools -> Get Tools and Features -> Individual components
Search “git”. Select “Git for Windows” from menu;
Visual studio will take some time to reconfigure.
Visual Studio 2017 Settings
Open Visual Studio, Check the Git for Windows in the Tools – Get Tools and Features…), go to “Individual Item” tab, check “Git for Windows”, and click “Modify”. Then it will ask you to update Visual Studio to the latest version, for example 15.9.36.
Click on upper right corner on your user icon and select “View Account”. Click on “Change Password” tile. Enter your old password and new password. Logout and Log back in with your new password. Microsoft Authenticator or Google Authenticator is required to authenticate.
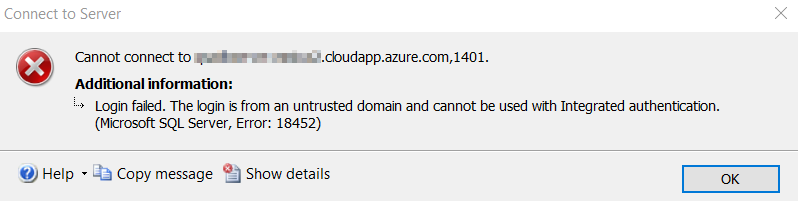
If the computers are not joined to domain then user has to open Credential Manager on their computers to store new credentials if they are using windows authentication for any cloud services.
If user has forgotten his/her password, then admin can follow Admin Function and reset user password to a temporary password. User has to go through same steps again to reset the password.
Admin Function – To Reset the password for other User
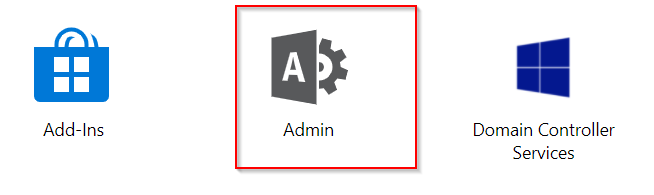
Click on Admin;
Click on Reset password under user management. Select your user, change password. This is a temporary password. Communicate this password with user and ask them to follow self service password reset.
There are no Azure domain services provisioned. We would like to use Azure Active Directory to authenticate users in VM.
If a VM is joined by using Azure Domain Services then you don’t need to follow this article. If not, then read on.
If MFA is enabled, we will need Azure AD conditional access policy that’s available in Azure Active Directory Premium P2 license. Otherwise, Azure AD login to VM from external wouldn’t work.
Why do we need Azure AD Logins?
We use Microsoft Integrated Azure Active Directory (AAD) authentication to improve the security of Windows and Linux virtual machines in Azure. This helps us to centrally control and enforce policies that allow or deny access to the VMs. Available tools on Azure like Azure role-based access control (RBAC) and Azure AD conditional Access allows to control who can access a VM remotely.
Azure VMs provisioning is simple but the challenges is how to securely manage the accounts and credential used to log in to those VMS. People often follow the risky practice of sharing admin account and password among group of people. This makes it really hard to protect production windows VM.
Microsoft has a new feature Azure AD authentication that can be used to connect Windows VM in Azure. We are going to setup a VM that can be used to access via Remote Desktop using Azure Active Directory.
I am assuming that you have;
Azure subscription
Azure VM running Windows Server 2019 Datacenter edition or Windows 10 version 1809 and later
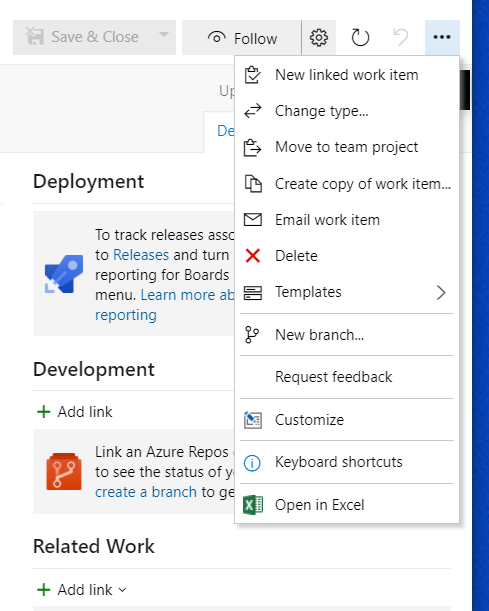
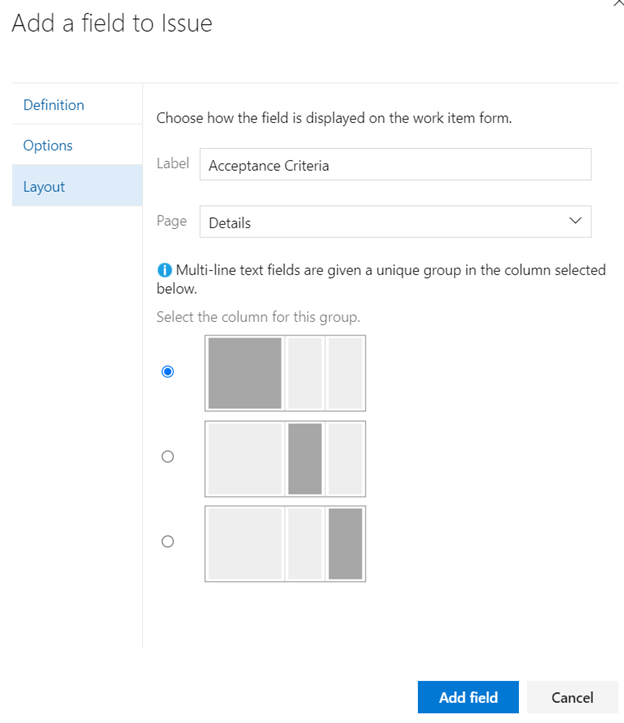
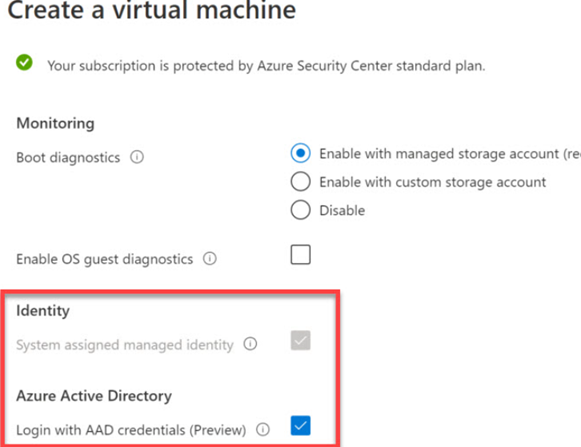
When you create a windows virtual machine in Azure, make sure you have selected “Login with AAD credentials” in the Management blade. Once you select Login with AAD credentials, the “system assigned managed identity” will be automatically selected as shown in the figure below;
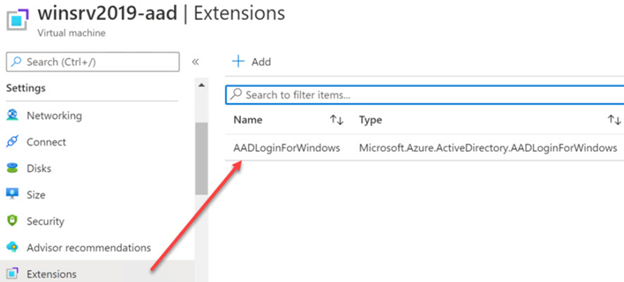
To verify that Windows virtual machine does support Azure AD Login, make sure that AAD Login extension is provisioned successfully from the virtual machine blade under Settings -> Extensions.
If you don’t see the extension, you can download it using Azure CLI;
az vm extension set \
    --publisher Microsoft.Azure.ActiveDirectory \
    --name AADLoginForWindows \
    --resource-group database-stg-vm-rg \
    --vm-name {yourVMName}
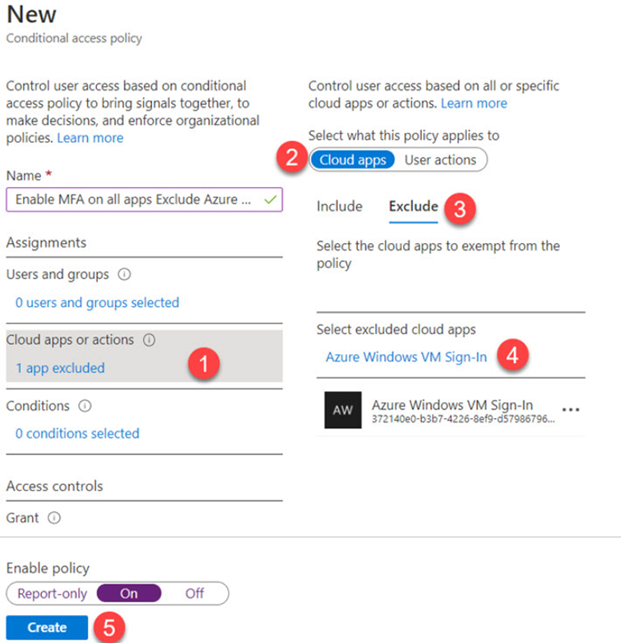
You can create a new Conditional Access Policy to exclude MFA requirements on Azure Windows VM Sign-in;
You need Windows 10 PC that is;
Either Azure AD registered (starting Windows 10 20H1)
Or Azure AD joined
Or Hybrid Azure
Or stored credentials in windows credential manager
to the same directory as the VM in Azure.
Following steps are needed to finalize Azure and Azure VM configuration;
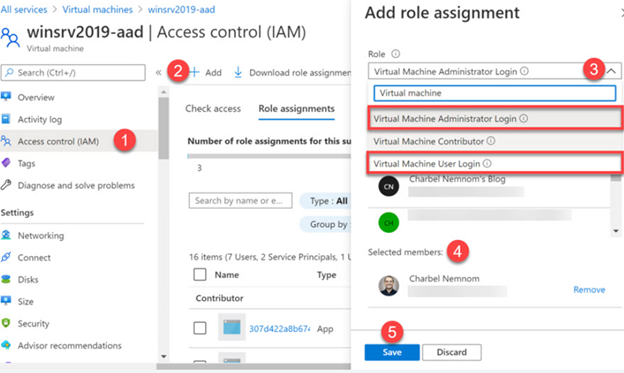
Select Virtual machine’s blade in Azure Portal -> Windows VM -> Access Control (IAM).
Select Role assignments -> Add -> Add role assignment
Using Add role assignment blade, choose one role (Virtual Machine Administrator Login, Virtual Machine User Login, Virtual Machine Contributor Login).
Choose Azure User that will have this role. You can add a Azure security group if you have multiple user’s
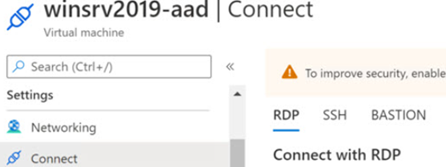
Go to Azure VM in the Azure Portal and click Connect button. This will allow you to download RDP file. This file has Public IP address of virtual machine.
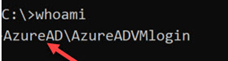
Login to your VM using RDP file. Open Command Prompt in elevated mode and type following command;
dsregcmd /status
This command will output device and SSO state. You can read more about it here;
The output say that SSOS State for AzureADPrt is No, and the Device State for AzureAdJoined is set to YES. However the SSO State for AzureADPrt should be set to YES and not NO.
As per Microsoft, upgrade to the latest windows version will switch AzureAdPrt to YES. This did not work in this case.
A workaround. modify downloaded RDP file and add these two lines;
enablecredsspsupport:i:0
authentication level:i:2
The first command will disable CredSSP support and the next on to set the authentication level to 2. This tell the server if server authentication fails, show a warning and allow to connect/refuse.
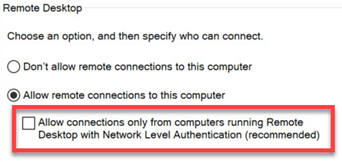
Open Control Panel -> System ->Remote Settings and uncheck this;
Add Azure Users to Remote Desktop Users group in VM. This step can not be done through GUI because VM is not joined through Azure Domain Services or simply put Azure Active Directory does not exits. Open command prompt in elevated permission mode and run following command to add user/group to VM Remote Desktop users group;